Create Svelte Electron App

The boilerplate code to get started creating Cross-platform Desktop Apps with Electron and Svelte as front-end technology.


✒️ Overview
The aim of this project is to provide Web Developers using svelte the power to create cross-platform desktop apps using electron.
🧐 What packages does the project use?
electron enables you to create desktop applications with pure JavaScript by providing a runtime with rich native (operating system) APIs. You could see it as a variant of the Node.js runtime that is focused on desktop applications instead of web servers.
electron-builder is used as a complete solution to package and build a ready for distribution (supports Numerous target formats) Electron app with "auto update" support out of the box.
electron-serve is used for Static file serving for Electron apps.
svelte is a radical new approach to building user interfaces. Whereas traditional frameworks like React and Vue do the bulk of their work in the browser, Svelte shifts that work into a compile step that happens when you build your app. Instead of using techniques like virtual DOM diffing, Svelte writes code that surgically updates the DOM when the state of your app changes.
concurrently is used to run multiple commands concurrently.
wait-on is used as it can wait for sockets, and http(s) resources to become available.
🚀 Getting Started
Note: If you wish to use npm over yarn then modify package.json by replacing yarn with npm in electron-dev and preelectron-pack scripts.
But I strongly recommend using yarn as it is a better choice when compared to npm.
🤓 Use this boilerplate
# Clone the Project

# Use degit scaffolding tool
$ npx degit soulehshaikh99/create-svelte-electron-app create-svelte-electron-app
# or GitHub CLI Users
$ gh repo clone https://github.com/soulehshaikh99/create-svelte-electron-app.git
# or Normal Git Users
$ git clone https://github.com/soulehshaikh99/create-svelte-electron-app.git

# Switch location to the cloned directory
$ cd create-svelte-electron-app

# Install dependencies
$ yarn # or npm install

# Run your app
$ yarn electron-dev # or npm run electron-dev

# Package Your App
$ yarn electron-pack # or npm run electron-pack
💫 Create this boilerplate from scratch (Manual Setup)
1) Use degit scaffolding tool to get started with svelte template.
$ npx degit sveltejs/template create-svelte-electron-app
2) Switch to project directory
$ cd create-svelte-electron-app
3) Move all dependencies to devDependencies using IDE / Text Editor
# It should look something like this
"dependencies": {},
"devDependencies": {
  "@rollup/plugin-commonjs": "^17.0.0",
  "@rollup/plugin-node-resolve": "^11.0.0",
  "rollup": "^2.3.4",
  "rollup-plugin-css-only": "^3.1.0",
  "rollup-plugin-livereload": "^2.0.0",
  "rollup-plugin-svelte": "^7.0.0",
  "rollup-plugin-terser": "^7.0.0",
  "sirv-cli": "^2.0.0",
  "svelte": "^3.0.0"
}
4) Install & Update all Dependencies at the same time
$ yarn add --dev @rollup/plugin-commonjs@latest @rollup/plugin-node-resolve@latest rollup@latest rollup-plugin-css-only@latest rollup-plugin-livereload@latest rollup-plugin-svelte@latest rollup-plugin-terser@latest sirv-cli@latest svelte@latest
# npm i -D @rollup/plugin-commonjs@latest @rollup/plugin-node-resolve@latest rollup@latest rollup-plugin-css-only@latest rollup-plugin-livereload@latest rollup-plugin-svelte@latest rollup-plugin-terser@latest sirv-cli@latest svelte@latest
5) Install Development Dependencies
$ yarn add --dev electron electron-builder wait-on concurrently
# npm i -D electron electron-builder wait-on concurrently
6) Install Production Dependency
$ yarn add electron-serve # or npm i electron-serve
7) Your dependencies should look something like this
"dependencies": {
  "electron-serve": "^1.1.0"
},
"devDependencies": {
  "@rollup/plugin-commonjs": "^23.0.2",
  "@rollup/plugin-node-resolve": "^15.0.1",
  "concurrently": "^7.5.0",
  "electron": "^21.2.0",
  "electron-builder": "^23.6.0",
  "rollup": "^3.2.3",
  "rollup-plugin-css-only": "^4.2.0",
  "rollup-plugin-livereload": "^2.0.5",
  "rollup-plugin-svelte": "^7.1.0",
  "rollup-plugin-terser": "^7.0.2",
  "sirv-cli": "^2.0.2",
  "svelte": "^3.52.0",
  "wait-on": "^6.0.1"
}
8) Download the app icon
favicon.png and place it in the public directory, overwriting the original (the original one is too small for packaging app, electron-builder will raise an error).
9) Create main.js file (serves as entry point for Electron App's Main Process)
# Windows Users
$ fsutil file createnew main.js 0
# notepad main.js

# Linux and macOS Users
$ touch main.js
10) Paste the below code in main.js file
// Modules to control application life and create native browser window
const { app, BrowserWindow } = require('electron');
const path = require('path');
const serve = require('electron-serve');
const loadURL = serve({ directory: 'public' });

// Keep a global reference of the window object, if you don't, the window will
// be closed automatically when the JavaScript object is garbage collected.
let mainWindow;

function isDev() {
    return !app.isPackaged;
}

function createWindow() {
    // Create the browser window.
    mainWindow = new BrowserWindow({
        width: 800,
        height: 600,
        webPreferences: {
            nodeIntegration: true,
            preload: path.join(__dirname, 'preload.js'),
            // enableRemoteModule: true,
            // contextIsolation: false
        },
        icon: path.join(__dirname, 'public/favicon.png'),
        show: false
    });

    // This block of code is intended for development purpose only.
    // Delete this entire block of code when you are ready to package the application.
    if (isDev()) {
        mainWindow.loadURL('http://localhost:8080/');
    } else {
        loadURL(mainWindow);
    }

    // Uncomment the following line of code when app is ready to be packaged.
    // loadURL(mainWindow);

    // Open the DevTools and also disable Electron Security Warning.
    // process.env['ELECTRON_DISABLE_SECURITY_WARNINGS'] = true;
    // mainWindow.webContents.openDevTools();

    // Emitted when the window is closed.
    mainWindow.on('closed', function () {
        // Dereference the window object, usually you would store windows
        // in an array if your app supports multi windows, this is the time
        // when you should delete the corresponding element.
        mainWindow = null
    });

    // Emitted when the window is ready to be shown
    // This helps in showing the window gracefully.
    mainWindow.once('ready-to-show', () => {
        mainWindow.show()
    });
}

// This method will be called when Electron has finished
// initialization and is ready to create browser windows.
// Some APIs can only be used after this event occurs.
app.on('ready', createWindow);

// Quit when all windows are closed.
app.on('window-all-closed', function () {
    // On macOS it is common for applications and their menu bar
    // to stay active until the user quits explicitly with Cmd + Q
    if (process.platform !== 'darwin') app.quit()
});

app.on('activate', function () {
    // On macOS it's common to re-create a window in the app when the
    // dock icon is clicked and there are no other windows open.
    if (mainWindow === null) createWindow()
});
// In this file you can include the rest of your app's specific main process
// code. You can also put them in separate files and require them here.
11) Create preload.js file (optional, contains code that runs before your web page is loaded into the browser window)
# Windows Users
$ fsutil file createnew preload.js 0
# notepad preload.js

# Linux and macOS Users
$ touch preload.js
12) Paste the below code in preload.js file
console.log('Hello from preload.js file!');
13) Update the script section of package.json
# Add this scripts
"electron": "wait-on http://localhost:8080 && electron .",
"electron-dev": "concurrently \"yarn run dev\" \"yarn run electron\"",
"preelectron-pack": "yarn run build",
"electron-pack": "electron-builder"

# Modify the build and dev scriptsW
"build": "rollup -c --bundleConfigAsCjs",
"dev": "rollup -c -w --bundleConfigAsCjs",

# You should end up with something similar
"scripts": {
  "build": "rollup -c --bundleConfigAsCjs",
  "dev": "rollup -c -w --bundleConfigAsCjs",
  "start": "sirv public --no-clear",
  "electron": "wait-on http://localhost:8080 && electron .",
  "electron-dev": "concurrently \"yarn run dev\" \"yarn run electron\"",
  "preelectron-pack": "yarn run build",
  "electron-pack": "electron-builder"
}
14) Add the following configuration in package.json
Note: build configuration is used by electron-builder, modify it if you wish to add more packaging and native distribution options for different OS Platforms.
"name": "create-svelte-electron-app",   # By default it is svelte-app
"main": "main.js",  # Application Entry Point, please verify entry point is set to main.js
"build": {
  "icon": "public/favicon.png",
  "productName": "Svelte and Electron App",
  "files": [
    "public/**/*",
    "main.js"
  ],
  "win": {},  # Windows Specific Configuration
  "linux": {},  # Linux Specific Configuration
  "mac": {}  # MacOs Specific Configuration
}
15) Test drive your app
# Run your app
$ yarn electron-dev # or npm run electron-dev

# Package Your App
$ yarn electron-pack # or npm run electron-pack
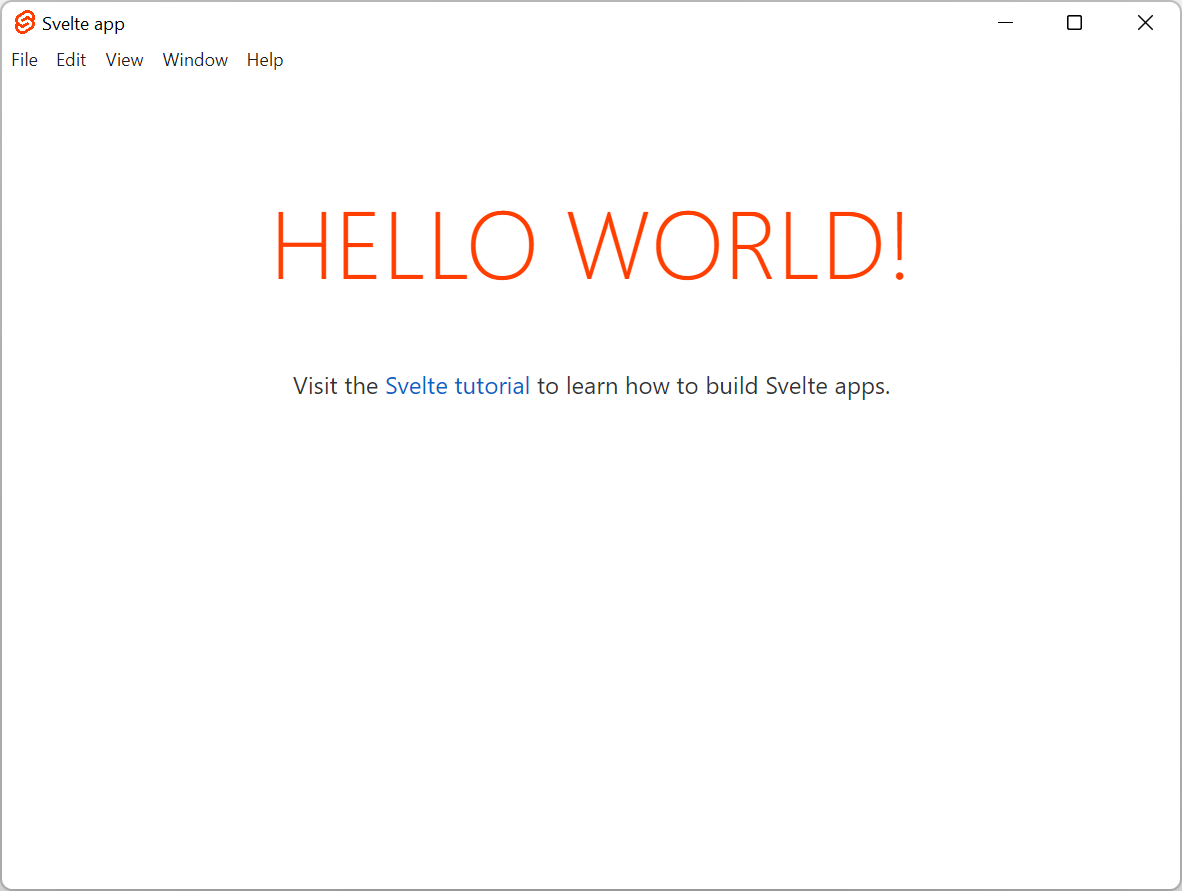
💯 Result
😍 Made with ❤️ from Souleh

💰 Support Me
📋 License:
Licensed under the MIT License.