Adonis.js + Svelte: Server-Side-Routed Boilerplate


A boilerplate for building a reactive server-side-rendered and server-side-routed application using Adonis.js, Svelte, and prisma.
But why?
The need for building fast reactive apps is rising, and having to build and manage both front-end and backend routings heavily slows the process. This project tackles this challange in a strongly oppinionated approach, but you are free to make it yours. You can kickstart your app with the below features.

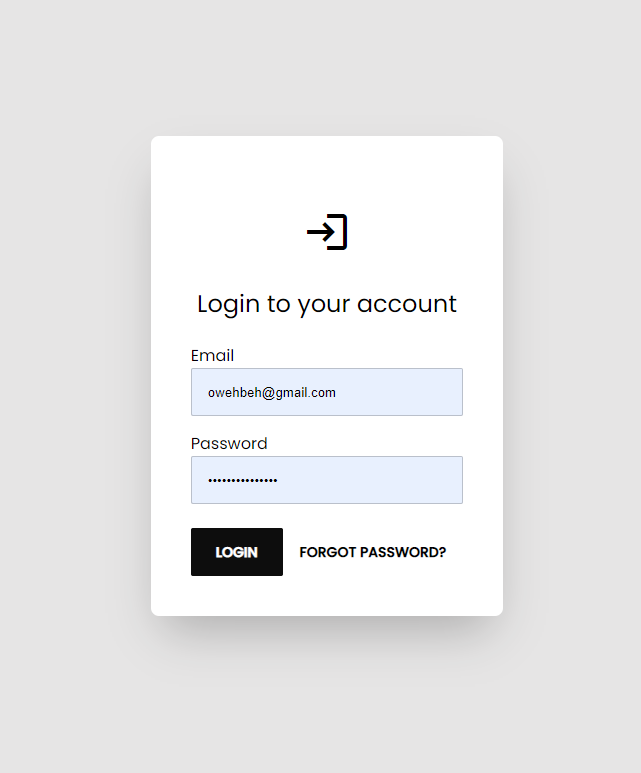


Table of Contents
- ✅ Features
- ✅ Project Structure
- ✅ Prisma
- ✅ Error Handling
- ✅ Menu
- ✅ Themes
- ✅ Icons
- 🔜 User Management
- 🔜 Users
- ✅ Login
- 🔜 Register
- 🔜 Reset Password
- 🔜 Change Password
- 🔜 Confirm Email
- ✅ Roles
- ✅ Permissions
- 🔜 Users
- ✅ Translation
- ✅ Code Generation
- ✅ List page + Functionality
- ✅ Single page + Functionality
- ✅ Add/Edit page + Functionality
- ✅ Delete components + Functionality
- ✅ Socket
- ✅ Helpers
- ✅ Install
- ✅ Run
Features
- CRUD Code Generation using Adonis.js commands, that includes:
- Controller
- Translation-ready views
- Permissions
- Routes
- Supercharged user management
- Centerlaized access mechanism using roles and permissions
- Dynamic menu rendering relative to users' permissions
- Simple and centralized translation mechanism
- Real-time front-end updates using Socket.io + svelte
- Tailwind CSS framework integration
- DaisyUI integration with front-end theme switch [ Dark | Light ]
- Node.js server using Adonis.js
- TypeScript ORM using Prisma
- Relational database using MySQL
- Server-driven web app using Inertia.js
- Reactive front-end using Svelte
- Centerlaized error handling mechanism
Project Structure
├── app
│  ├── Controllers
│  ├── Exceptions
│  ├── Helpers
│  │  ├── FeedbackHelper.ts "Cenralized feedback [ Success | Error ] handling"
│  │  ├── MenuHelper.ts "Definition of menu items"
│  │  ├── Permission
│  │  │  ├── PermissionHelper.ts "Permission-related methods used in MenuHelper and Permission middleware"
│  │  │  └── permissions.json "List of permissions"
│  ├── Middleware
│  │  ├── Auth.ts "Adonis.js authorization middleware"
│  │  ├── Permission.ts "Middleware that checks if valid permissions exist on authorized user"
│  │  └── SuperAdmin.ts "Middleware that limits access to super admin users"
│  ├── Models
│  └── Services "Includes Socket.io service"
├── commands
│  ├── GenerateCrud "CRUD Code generator command"
├── config
├── contracts
├── database
├── prisma
│  ├── json-schema "Has the json schema presentation of the prisma schema, used for CRUD Code generation"
│  ├── schema.prisma
│  └── seeders "Includes database seeders"
├── providers
├── public
├── resources
│  ├── css
│  ├── js
│  │  ├── app.js "Inertia App for Svelte integration"
│  │  ├── components
│  │  │  └── navigation.svelte "Navigation code, including side menu and nav bar"
│  │  ├── helpers.js "Svelte helper methods"
│  │  ├── language.js "Translation related text and functions"
│  │  ├── layouts "To enable different layouts as per user preferences if needed"
│  │  ├── Pages "Svelte views directory"
│  └── views "Adonis.js (.edge) Views directory"
├── start
Prisma
Configure
To connect to your database instance, you need to configure the DATABASE_URL in the .env file or in your Node.js environment variables.
The default connection connector is MySQL, to install other connectors, check prisma docs, and change the schema.prisma file accordingly.
datasource db {
  provider = "mysql"
  url      = env("DATABASE_URL")
}
Edit Schema
Edit the prisma schema file under /prisma/schema.prisma
Generate
Use the below command to generate client, models, and json schema. Read more
npx prisma generate
Migrate
Use the below command create a migration. Read more
npx prisma migrate dev --name {MIGRATION_NAME}
Seed
Follow these steps to create and execute database seeds. Skip the initiation step as it is already done inside this project.
Error Handling
The file /app/Helpers/FeedbackHelper.ts contains several usefull methods:
handleError(): Used inside the global exception handler/app/Exceptions/Handler.tshandleErrorToRoute(): Handles error and redirects to a specific routhandleServiceError(): For long running async functions error handlinggoBackWithMessage(): Redirects back to the previous page with a message and extra optionsgoToRouteWithMessage(): Redirects to a specific page with a message and extra options
Menu
A side menu item has the following structure:
  interface SideMenu {
    name?: string
    icon?: string
    url?: string
    children?: SideMenu[]
  }
Menu items with no url are considered as separators
The getUserMenu() function accepts a User argument so you may use the hasPermission() function from the PermissionHelper.ts file to [ Show | Hide ] menu items based on the users' granted permissions attached to his role.
Example:
  const dashboardItem = {
    name: 'Dashboard',
    icon: 'home',
    url: '/',
  }
  if (hasPermission(user, [permissions.VIEW_DASHBOARD])) {
    sideMenuList.push(dashboardItem)
  }
Themes
To change the Dark and the Light themes you need to edit the file /resources/js/components/navigation.svelte
You need to change the default themes which are lofi and black as below:
  if (localStorage.getItem('myDarkMode') === 'true') node.setAttribute('data-theme', 'black')
  else node.setAttribute('data-theme', 'lofi')
You may choose between the themes available at DaisyUI here, or use your own themes which you can generate following these steps.
Icons
Google Material icons are available to use inside svelte pages and components.
User Management
Users
- Login
- Logout
- Register
- Reset Password
- Change Password
- Edit Profile
Roles
CRUD roles
Permissions
CRUD permissions
Translation
Translation is done on the front-end side, is case sensitive, and supports switching between two languages by default. This can be easily changed from the /resources/js/components/navigation.svelte file if you plan to support more than two languages.
In order to translate a word/phrase you can use the txt() function from the /resources/js/language.js file, as below:
  // Import
  import { txt } from '../../language'
  // Use
  <h2>{txt('User')}</h2>
You can add new words/languages inside the /resources/js/language.js itself as well.
Code Generation
Code generation saves your time by elimanating redundant effort needed for every new table you add to your databse/prisma schema.
- To start the code generator, simply execute the following command in your project directory:
node ace generate:crud
- You will be asked to choose the model you wish to generate pages and code for
Select the model you want to generate CRUD for ... Press <ENTER> to select
  User
  Note
  Role
  Request
After choosing a model, a guiding page will open with two informative sections and one pending action to make.
- View Files under
/resources/js/pages/{model}/- list.svelte
- single.svelte
- editAdd.svelte
- Controller File under
/app/Controllers/Http/{model}sController - Routes: Make sure to copy these routes to your
/start/routs.ts
- View Files under
Permissions will be added to the
/app/Helpers/Permission/permissions.jsonfileView {model}Create {model}Edit {model}Delete {model}
One final step would be seeding the database for the new permissions to be attached with the Admin role
Socket
In order to update a loaded view, remove a row from a table for example, all you have to do is:
- Emit a web socket event through the
Wsservice - Listen to the event on the
.sveltepage and update the related variable, which will its turn update the view.
For Example:
Inside your Controller
  // Import the web socket service
  import Ws from 'App/Services/Ws'
  // Emit the event with data
  Ws.io.emit('event_name', {
    data: {
      id: 3,
      name: 'Omar',
    },
  })
Inside your page_name.svelte
  var socket = io('http://localhost:3333')
  // Subscribe to the event
  socket.on('burger_post', (received) => {
    data = received.data
  })
Helpers
Show a confirmation modal programmatically
  // Import
  import { confirmModal } from '../../helpers.js'
  // Call where needed
  confirmModal(
    `Modal Title`,
    'Modal Content',
    'Button Text',
    () => {/** CALLBACK ON BUTTON CLICK */}
  )
Submit a POST HTML from programmatically
  // Import
  import { PostThis } from '../../helpers.js'
  // Call where needed
  PostThis('URL', { data1: data1Val, data2:data2Val... })
Install
Clone the repo
Install the dependencies:
npm install
- Set the environment variables:
cp .env.example .env
Environment Variables
The environment variables can be found and modified in the .env file. They come with these default values:
PORT=3333
HOST=0.0.0.0
NODE_ENV=development
APP_KEY=random_key
DRIVE_DISK=local
SESSION_DRIVER=cookie
CACHE_VIEWS=false

# Prisma supports the native connection string format for PostgreSQL, MySQL, SQLite, SQL Server, MongoDB and CockroachDB (Preview).
# See the documentation for all the connection string options: https://pris.ly/d/connection-strings

DATABASE_URL="mysql://{user}:{password}@{url}:{port}/{database_name}"
Run
Run locally
Copy the below code into a RUN_ADONIS.bat file and run it.
Make sure to change the project's path to yours by replacing the {PROJECT_PATH} with D:\CODE\adonis_crud for example
@echo This was written by @owehbeh
@echo Accessing HDD
@CALL cd {PROJECT_PATH}
@CALL D:
@echo Access granted
@CALL code .
@start cmd /k CALL node ace serve --watch --node-args="--inspect"
@start cmd /k npx tailwindcss -i ./resources/css/tailwind.css -o ./public/output.css --watch
@echo Done!
@echo You take control in
@echo 3
@choice /d y /t 1 > nul
@echo 2
@choice /d y /t 1 > nul
@echo 1
@choice /d y /t 1 > nul
cmd /k
Or run these two commands in seperate terminals inside your project's directory:
node ace serve --watch --node-args="--inspect"
npx tailwindcss -i ./resources/css/tailwind.css -o ./public/output.css --watch
Run in production
Follow Adonis's guide for details about deployment
